How to Set Up a Mesh Wi-Fi System for Your Home
You know the ritual. You settle onto the couch with a laptop, open a video call, and the picture freezes. Or you walk into the kitchen and your phone quietly drops to one bar. One router in a hallway closet cannot cover a whole house, no matter how many antennas point at the ceiling. A mesh system is the fix most homes actually need — not because it is exotic technology, but because it puts several small access points where the signal is needed instead of one loud one in a bad spot.
What a Mesh System Does Differently
A traditional setup uses one router, and when coverage falls short people add a range extender. Extenders work, but clumsily: they usually broadcast a second network name, cut throughput roughly in half because they repeat every packet, and devices cling to the wrong access point until the signal is nearly gone.
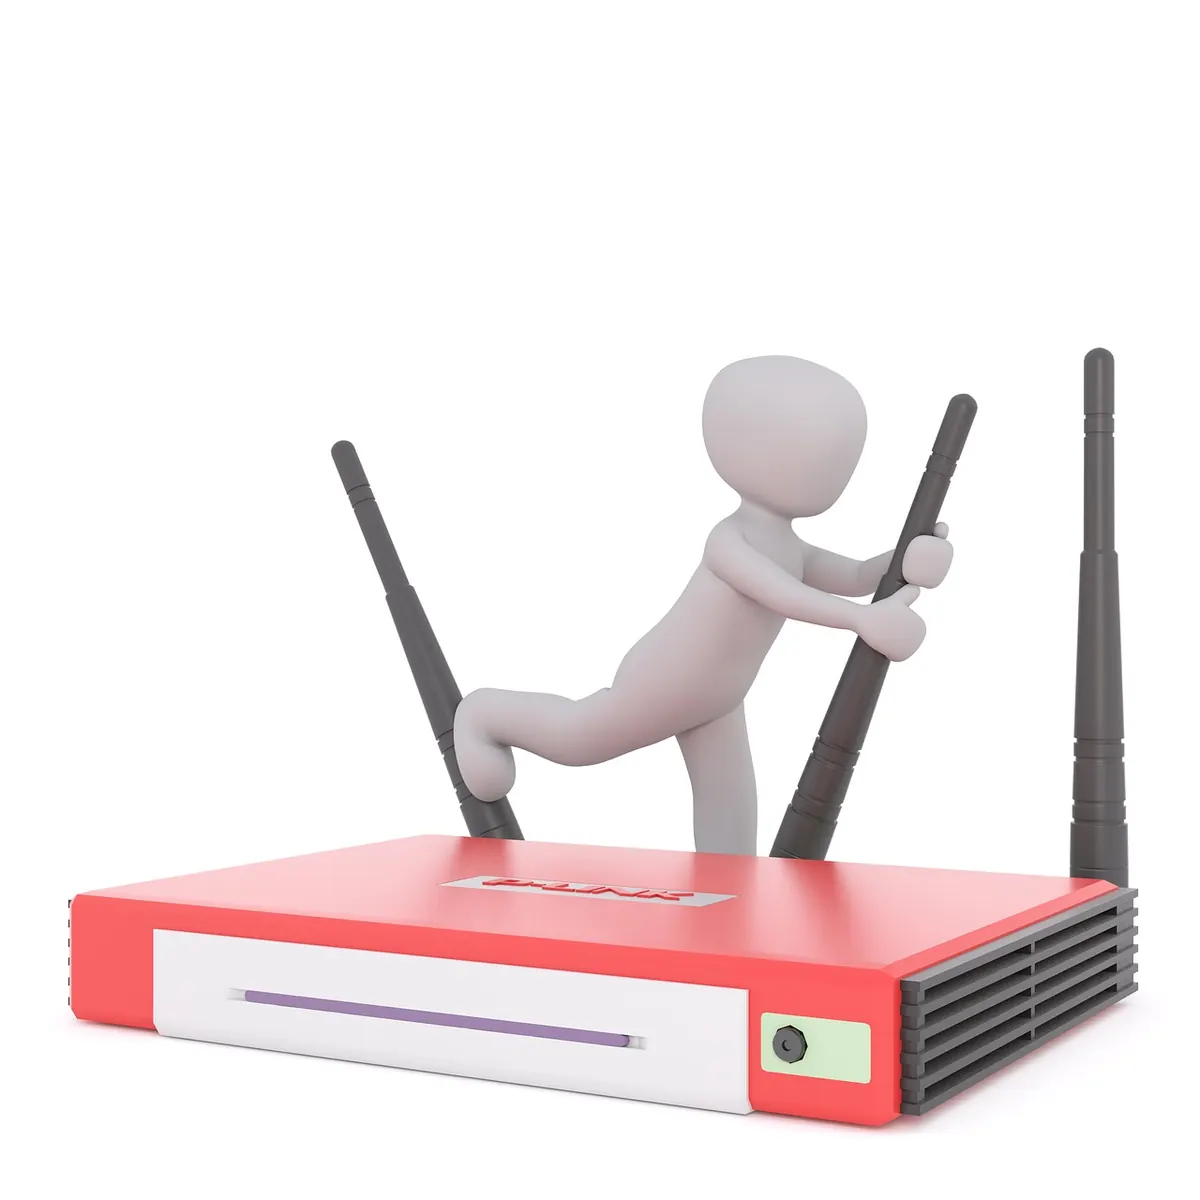
A mesh system uses several nodes that share one network name and coordinate with each other. Your phone joins once and gets handed off between nodes as you move around the house. On tri-band systems, one radio is often reserved as a dedicated backhaul, so the nodes talk to each other on a separate channel instead of competing with your traffic.
One honest point before you spend anything: mesh spreads your internet connection around the house, it does not create more of it. If your plan delivers 100 Mbps, no mesh kit will turn that into 500.
Sizing the System Before You Buy
Manufacturers love to quote square footage, but walls matter far more than floor area. A 1,500-square-foot apartment with open plan and drywall might be covered by two nodes. A 1,500-square-foot house with plaster-and-lath walls and a brick chimney may need three or four.
- Start with two nodes. Most systems let you add more later, and two well-placed nodes beat three badly placed ones.
- Prefer tri-band if you cannot run Ethernet between nodes. The extra radio keeps the backhaul off your main channels.
- Check the ports. Count the Ethernet jacks on each node. If you have a desktop, a NAS, or a console, you want at least two per unit.
- Stay within one family. Nodes from different brands or generations generally will not mesh together.
- Wi-Fi 6 is the sensible baseline. Wi-Fi 6E and 7 add the 6 GHz band, which is fast but short-range — great in one open room, less useful through three walls.
Placement: The Part Most People Get Wrong
Put the main node where the internet arrives
That node connects to your modem, so it has to be near it. Keep it out of closets, off the floor, and away from metal shelving, mirrors, fish tanks, and microwaves. A shelf at chest height in an open room is close to ideal.
Space nodes one to two rooms apart
More nodes are not automatically better. If two units sit in the same room, they interfere with each other and add nothing. Aim for a gap of one or two rooms between nodes, and let the coverage overlap slightly at the edges.
Chase the middle, not the dead zone
This trips up almost everyone. A wireless node placed inside the dead zone receives a weak signal and rebroadcasts that weak signal. Put it roughly halfway between the main node and the problem room, where it still gets a strong connection of its own.
Think of each node as a link in a chain. The chain is only as strong as its weakest link, so every node needs a solid path back to the main unit.
Run cable if you possibly can
If your house already has coax in the walls, MoCA adapters turn it into Ethernet. Powerline adapters work in some homes and fail in others, depending on wiring. Any wired backhaul gives each node full speed instead of a shared wireless channel, and it is the single biggest upgrade you can make.
Configuration, Step by Step
- Power down your modem, then connect the main node's WAN port to it with the included cable. Power the modem back up first, then the node.
- Install the vendor app, or open a browser and go to the address printed on the node. Create an administrator password you do not use anywhere else.
- Set one network name and one password for all bands. Let band steering decide whether a device uses 2.4, 5, or 6 GHz. Avoid names like "Home_5G" — split names defeat roaming.
- Add satellites one at a time, placing each in its final location before pairing. Watch for the status light to go solid, then move on.
- Update firmware immediately. Mesh kits often ship with months-old software.
- Turn on the guest network and put smart plugs, cameras, and other cheap IoT devices on it. If a gadget gets compromised, it is not sitting next to your laptop.
- Give fixed addresses to printers, NAS boxes, and anything you reach by IP, so they stop moving around after reboots.
Tuning and Troubleshooting After Setup
Walk the house with a Wi-Fi analyzer app and note the signal strength in each room. Around -65 dBm or better is comfortable for streaming and calls; -75 dBm is where things get sticky. If one room lags, move the nearest node a few feet — sometimes just rotating it or lifting it onto a shelf fixes the problem.
- Disable your old router's Wi-Fi entirely, or switch it to access-point mode. Competing networks cause more harm than they solve.
- Unplug old range extenders. They will fight the mesh for clients.
- On 2.4 GHz, set the channel width to 20 MHz. It is slower on paper and far more reliable in a crowded neighborhood.
- If your ISP gateway also does routing, put it in bridge mode to avoid double NAT, which breaks some games and VPNs.
- When something acts up, reboot in order: modem, main node, then satellites.
When Mesh Is Not the Right Fix
A one-bedroom apartment with a single router in a central spot usually does not need mesh. Neither does a home where the real problem is a tired modem or an overloaded coaxial line. If your walls are thick masonry or old plaster over lath, Ethernet — or coax with MoCA adapters — will outperform any wireless mesh you can buy. Buy the wiring before you buy the third node.
A Weekend's Worth of Work
Start with two nodes, place the main one high and open, and put the second one halfway to the trouble spot rather than inside it. Wire the backhaul wherever you can reach. Then test room by room, move one node a few feet, and test again. Set the firmware to update automatically, keep the app installed so you can see which devices are connected where, and use WPA3 or WPA2 security with a long passphrase. Two hours of careful placement will do more for your connection than any amount of fiddling with settings afterward.
Photo: Kranich17 / Pixabay